Guacamoldy Mousse
 1 large avocado1 -8oz. package cream cheese, room temperature
1/2 c. fresh cilantro, loosely packed1/2 cup Serrano chile juice of 2 limes 1 t. salt (to taste)2 t. cumin1 t. onion powder1 t. garlic powderred chile flakes (to taste)1 cup cold water, divided2-1/4oz. envelopes unflavored gelatinTape up openings of Halloween Mask like this...
Spray inside of taped mask with cooking spray.Set aside.Combine avocado, cream cheese, cilantro, chiles and lime juice in a food processor and puree until smooth. Add cumin, salt, onion and garlic powders and red chile flakes until desired spiciness and set aside. (Note: I made this recipe spicy so adjust amount of chile to your preference. Reduce the amount of Serrano chiles and/or omit the red chile flakes if milder spice is desired.) In a small bowl, add 1/2 cup of the water and the two envelopes of gelatin and stir. Heat the other 1/2 cup of water in the microwave until boiling, about 1-2 minutes. Add the boiling water into bowl of gelatin and stir until fully dissolved. With the food processor on high, add the gelatin to the food processor insert to slowly incorporate the gelatin to the avocado/cheese mixture. Continue to puree on high until all the gelatin has drained out of the insert. Taste your mousse and add more salt or seasonings as needed. Pour the mixture into the prepared mask mold and cover with plastic wrap. refrigerate for 2 hours or until mixture is set. To serve, invert mask onto a platter. The mask is not rigid so it's easy to coax the mousse out with a little squeeze of the mask. For more rigid molds, place bottom of the mold in hot water for about 30 seconds and then invert on your serving plate. Serve with tortilla chips.
Other Halloween-inspired appetizers to try:Ghoulish Goat Cheese Torte Spiderweb Eggs Amputated Appetizer
I'm ready for shorter days and cooler weather. I'm ready for fall. I'm ready for brisk morning walks and coming home to delcious smells of simmering Crockpots. I'm ready for jeans and boots and sweaters. I'm ready for cold nights and extra blankets, scented candles and cinnamon coffee. I want comfort foods and Halloween...Ahh yes, Halloween. The only holiday where I can dress up and pretend to be someone else for one glorious night....or one glorious month if I do it right.:) I want to decorate with headstones, orange lights and spiderwebs. I want to carve pumpkins, and eat creepy Halloween inspired foods while sipping on bubbling drinks. I want to eat Halloween candy for dessert...or even better, these super rich and decadent Black Velvet Cheesecakes! The perfect mini cheesecake that is easy to prepare and oh so yummy! Make them for your next Halloween gathering. They're the perfect finale to a dark and festive Halloween meal of, Spiderweb Eggs, Love at First Bite Linguini and Fangtinis. Enjoy!
Black Magic Spellcakes
 Makes 121- 8 oz. package plus 4 oz. cream cheese, softened1/4 cup sugar1/2 tsp vanilla extract2 eggs1 cup semi sweet chocolate chips, melted2 T milk or cream 1 t. black gel food coloringblack sugar granulesCrust1-2 cups Chocolate Oreos, finely crumbled 1 T butter, melted
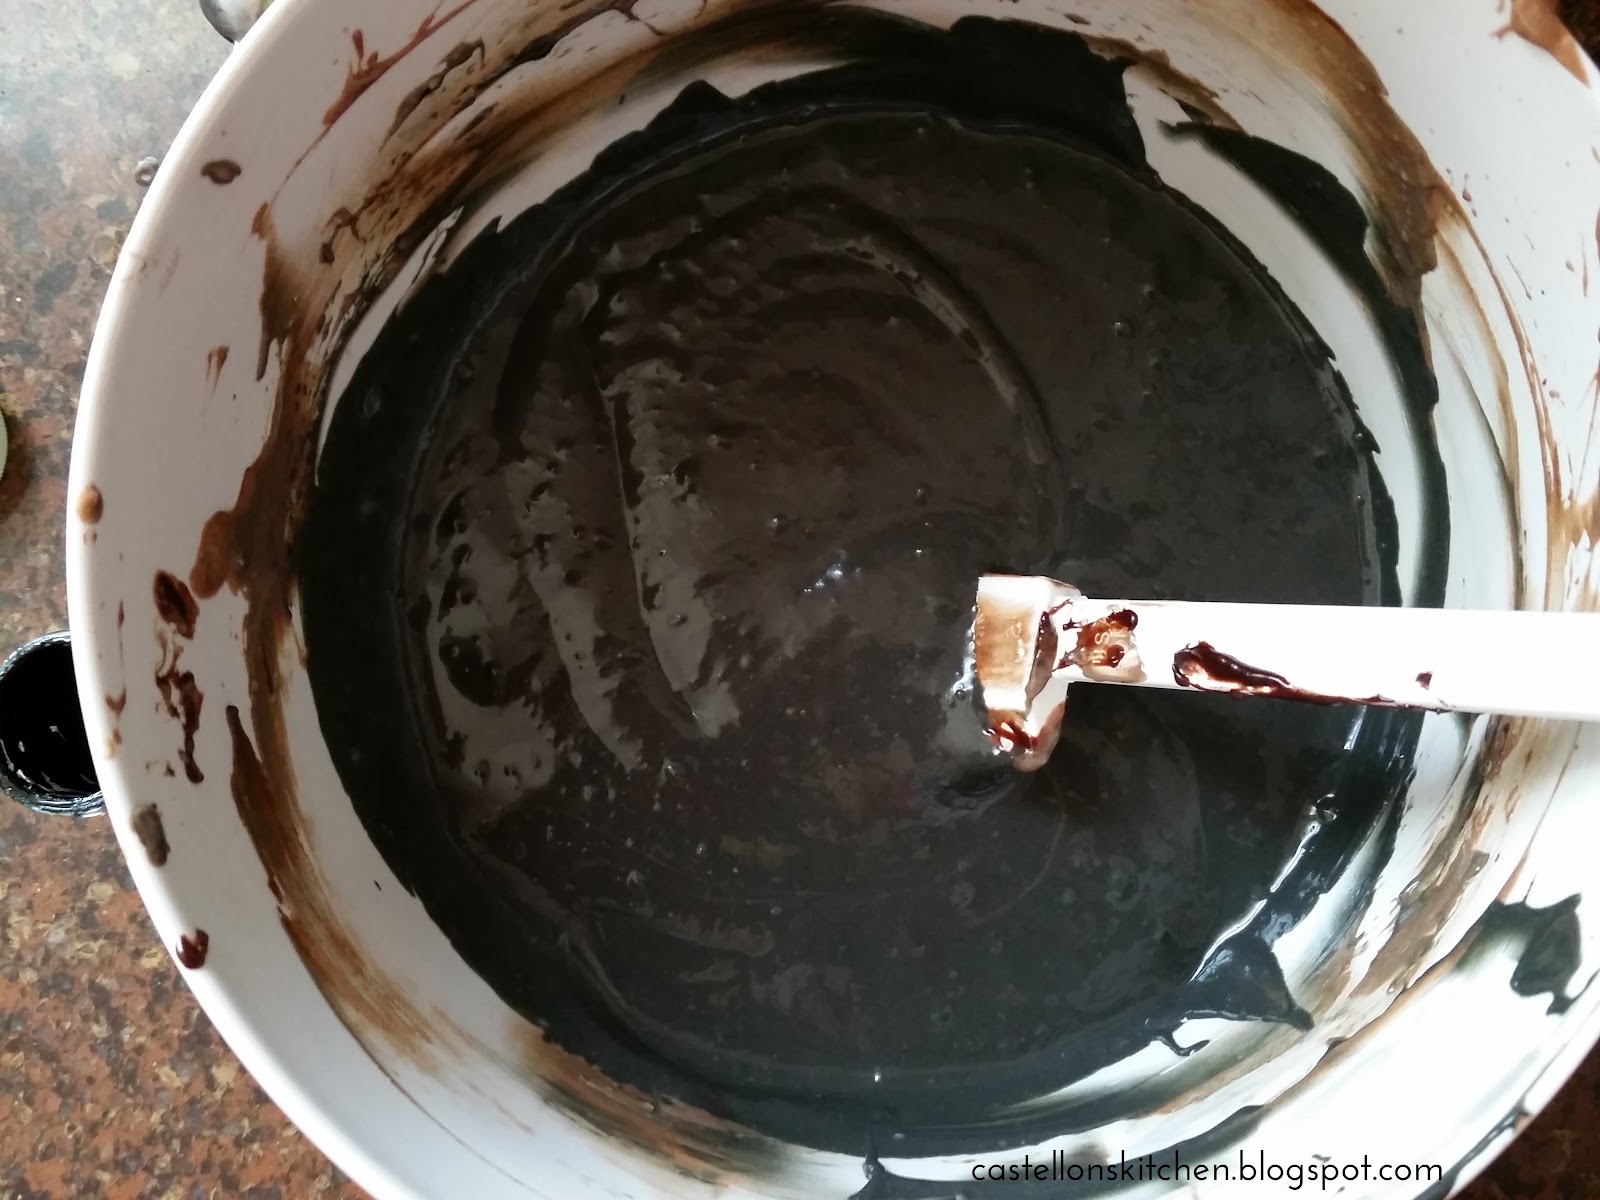
Preheat oven to 350 degrees.Line muffin tin with paper baking cups. Beat cream cheese and sugar in a medium bowl until fluffy. Add vanilla and eggs one at a time. Set aside.Place Chocolate chips and milk in a double boiler and heat until melted and smooth. Set aside to cool for 2 minutes or so. Slowly add melted chocolate to cream cheese batter and beat until incorporated. Add black gel food coloring until you get a deep black batter. Place Oreo cookies in a food processor and pulse until you get fine crumbs. Add melted butter and process again until incorporated. Line cupcake pan with baking cups and add about 1-2 Tablespoons of Oreo Cookie crumbs to the bottom of each baking cup. (I used a small cookie scoop) With the back of a small spoon, press and smooth out the crumbs so that it forms a packed crust that lines the bottom of the cupcake liner. Fill each of the baking cups three-fourths full with chocolate cream cheese mixture. Bake for 15 minutes. Cool for 20 minutes and then refrigerate for at least 2 hours.  Once cooled, remove paper wrappers and dip the cheesecakes in black sugar sprinkles. Enjoy!Other Halloween-inspired dishes to try:Black Velvet Creme Cakes Candy Corn Peppermint Patties Candy Corn Sugar Cookies
I love to read just about anything, but my favorite guilty pleasure is reading Vampire books! Give me a good vampire book and I'm a happy woman. For this dish, I drew my inspiration from my love of vampire books. I asked myself, "What are vampires known for besides living off of blood?" Answers: 1. Vampires are creatures of the night, darkness made manifest, right? So I decided to make some inky, black-as-night, pasta to set the stage...or the plate, in this case. 2. Vampires are powerful and strong and magical. So I decided to make the pasta spicy, but with layers of spice. A bold strong spice from the red chile flakes and the subtle but magical flavor from preparing the pasta in chile infused water.
3. Vampires are repelled by garlic. So of course I added a boat load of garlic to this dish to repel those blood suckers. Roasting the garlic mellows it out so it doesn't burn our mere human taste buds. 4. Even Vampires like cheese. ...it's true. It's written somewhere. So, I topped off the whole thing with generous amounts of Parmesan cheese. So there you have it...Vampire inspired Pasta! Now...what do I call this wonderful dish? Initially, I named this garlicky and spicy pasta, Death by Garlic but my husband suggested, Love at First Bite Linguini playing up the vampire inspiration by naming it after the 1979 movie, Love at First Bite. It was the perfect name for this dish.If your not old enough to remember this movie, it's a comedy starring Susan Saint James and George Hamilton. George Hamilton plays Dracula who moves to New York where he falls in love with a supermodel played by Susan St. James that he wants to make his vampire bride. It's absolutely hilarious and of course George Hamilton is perfect as Dracula. Spend the evening at home, make this cool dish and watch Love at First Bite. Enjoy! (Picture above) This pasta would be perfect for a vampire themed dinner party where you can set your place settings like this. I used vampire teeth as napkin rings and scattered a few bulbs of garlic around.
Love at First Bite Linguini Serves 6
1 lb linguini12 cloves of garlic4-6 hot chiles, (I used Serrano chiles) 2 cups water + more for boiling pastasalt1/2 t. Black gel food coloring 6 heads roasted garlic Parmesan cheeseolive oilsalt and red pepper flakesparsley (for garnish)Preheat oven to 425 degrees. You will want to roast the six bulbs of garlic first so they have time to cool. Cut the top off of each bulb and then lightly drizzle olive oil over the cut tops. Wrap bulbs in foil or place bulbs in a shallow roasting dish and cover with foil. Roast in 425 degree oven for 30 minutes. Remove from oven and set aside to cool.
Prepare the Pasta water:Add chiles and 12 garlic cloves to a food processor and pulse until well chopped. Add 2 cups of water to the processor to further chop up the vegetables. Add this mixture to your well-salted pot of water. Bring the salted water with garlic and chiles to a boil. Boil water for 20-25 minutes to infuse the garlic and chile flavor into your water. Add black gel food coloring to water and mix well, boil for a little longer to make sure the food coloring is dissolved. Turn off heat, get a new pot of similar size along with a fine mesh strainer over the top of the pot. Transfer the chile garlic water into the new pot while straining out the garlic and chiles from the water. Discard the chiles and garlic.
Place the strained pot of water back on the stove and bring it back to a boil. Add linguini and cook according to package directions. Strain the pasta, do not rinse and make sure to reserve 1 cup of black pasta water. Place pasta in a large bowl and add olive oil, some of the reserved pasta water (you may or may not need the whole cup, add enough to flavor the pasta and keep the noodles from sticking as you add the olive oil) and chili flakes. Mix well. Taste and add salt as needed. Serve pasta on plates. Top each plate of pasta with one whole bulb of roasted garlic. Squeeze roasted garlic cloves out of each bulb and top generously with a little more olive oil, Parmesan cheese and additional red chile flakes. Garnish with minced Italian parsley. Enjoy! Other Halloween recipes to try: Black Bean Hummus Roasted Fingers and Toes Fangtini
If you don't already know...I adore Halloween! It's my favorite holiday and I plan all year for it;dreaming up fun food and decorating ideas. It's trial and error really. Not all my ideas are good ones. In fact, this week I had to concede defeat to Candy Melts and Chocolate. I spent the whole day in the kitchen wrestling with chocolate that wouldn't melt properly and those dreadful candy melts. I told my husband if I ever attempt a recipe that calls for Candy Melts, just remind me of this day AND the last time I used candy melts for a Halloween blog. *Sigh*Castellon's Kitchen-0 Candy Melts-2  Anyway, there's no need to dwell on the past, let's look at this gorgeous salad. I was inspired to make this Autumn Rainbow Salad when I saw this salad on Pinterest. I loved that the carrots were carved into little jack-o-lanterns along with the potatoes that looked like little ghosts. Super cute idea! Admittedly, I tried to cut my carrots into the cute little jack-o-lanterns...see? But I wasn't too happy with the way they came out. This one here is the best one. Anyway, I scrapped the idea to make jack-o-lanterns out of them and opted to just keep them as pumpkins. Still cute, but much more versatile. My salad could now be made for Halloween, Thanksgiving or just a simple fall meal with a cute little detail to keep it festive. I topped this salad with Green Goddess Dressing because I like the creaminess with all these crunchy veggies, but feel free to use your favorite dressing. In fact, I used a vinaigrette with leftover salad and it was super yummy too! Enjoy!
Autumn Rainbow Salad (Serves 8)3 cups of mixed red/green lettuces1 1/2 cups red cabbage, thinly sliced1 1/2 cups savoy cabbage, thinly sliced1 large carrot, sliced1 cups orange cauliflower, cut into small florets 1 cup blueberries1 cup golden raisins1 cup pumpkin seeds 1/2 cup feta cheese, crumbled Prepare all veggies. Layer serving platter with red/green lettuces. Top lettuces with vegetables in a rainbow pattern finishing each end with crumbled feta cheese. Top with your favorite dressing! Green Goddess Dressing
2 cups mayonnaise
1/2 ripe avocado, mashed
2 green onions, chopped
1/4 cup chopped parsley
1/4 cup olive oil
3 T white wine vinegar
1 garlic clove, minced
2 t. fresh tarragon, chopped (1 t dried tarragon)
salt and pepper
Mix all ingredients in a blender. Store in air tight container and refrigerate until use. Shake well before serving.
How to: Pumpkin shaped carrotsFirst, cut about a two inch slice off your carrot. I worked in small increments because it was easier to work with smaller sections of carrot when you cut out the stem portion. Cut along the length of the carrot only cutting about a quarter inch deep. Then, cut 45 degrees from the first cut to notch out a quarter round piece of carrot. Make another cut about 1/4 inch from the first cut and opposite the notched out side. This will be the stem of the pumpkin. Repeat the notching on the other side of your latest cut.After notching out both sides of your first cut it should look like this. A roughly shaped pumpkin.Use a paring knife to trim away the sharp corners and round out the pumpkin shape. Ta-Da! Pumpkins. Now cut the carrots into many pumpkins.  Other Halloween recipes to try:Ghoulish Goat Cheese Torte Midnight Sushi w/Wasabi Skulls Pickled Shrunken Heads
It is officially Halloween in my kitchen. The kiddos were at a sleepover this last Saturday so I was able to play around with an idea I had for a fun Halloween-inspired main dish. I call it Midnight Sushi! My husband suggested the name. I was thinking something like Sinister Sushi, but I liked his name better. It's basically a super cool looking Spicy Tuna Roll with veggies. I can't have a meal without my veggies. The most noticeable difference is that I made it with Forbidden Rice instead of sushi rice. I saw some forbidden rice at the store a few months ago and bought it wanting to make a Halloween dish and voila! This is the result...Can you just imagine eating this at midnight on Halloween? Yum. (This is my simulated nighttime pic...I think it turned out pretty cool considering it was daytime when I took this picture. I've been playing around with lighting so that it looks like it's night time.) The daytime shots are down below. :)
I really like the way it turned out. Forbidden rice when uncooked is gorgeously black! See?
But once it's cooked it becomes a beautiful deep burgundy-purple color.  When cooked properly for 30 minutes, Forbidden Rice is nutty and has a chewy texture with a little bite to the grain. Normally, Forbidden Rice wouldn't be sticky enough for sushi so, for this recipe, I cooked it two times in my rice cooker to get a more sticky consistency. The first time with equal portions of rice and water. The second go around, I added about a half a cup of additional water and flipped the switch again. It turned out sticky with some of the grains broken. Perfect for sushi but not for a pilaf! In fact the nutty flavor of the rice really elevated sushi for me. Typically sushi rice just gets me really full without a lot of flavor, but this rice tasted amazing with the spicy tuna and veggies. :) My husband even said, "I think you got something here! This is really good, the rice really adds to it." High praise from my sushi-loving husband.
Note: I tried rolling some of these rolls with the rice on the outside but it was not successful. When I went to cut the roll, the rice fell off the nori sheet. Darn. So definitely roll the rice on the inside. Like this. :) Midnight Sushi (Makes 4-6 rolls)
2 cups Forbidden Rice2 cups plus 1/2 cup waterDressing 3T rice wine vinegar2 T sugar1 t salt1/4 lb sushi grade tuna, finely minced2-3 T garlic chili sauce (to taste)splash of low-sodium soy sauce 1 t. mayo radish sproutsred bell pepper, sliced thinly cucumber, sliced thinlySushinori sheets Make rice according to rice cooker instructions and then cook the rice a second time, adding about a half a cup of additional water. While rice is cooking, prepare the dressing. Dissolve the sugar and salt in the rice wine vinegar and set aside. Once the rice is done cooking, let it cool for about 10 minutes and then pour the dressing over the hot rice and mix well. Let the rice cool completely to room temperature.
Prepare tuna to your desired spiciness and prepare all veggies, cutting them thinly. Assemble the sushi following these instructions here.Wasabi Skulls
For a festive addition, I used a mini Halloween cookie cutter to mold the wasabi into a skull shape. I used a small knife to draw the nose and mouth and a chopstick for the eyes...pretty cute huh? Other Halloween Food Ideas:Spiderweb Eggs Amputated Appetizer Mummified Meatloaf

 1 large avocado


 Other Halloween-inspired appetizers to try: