Showing posts with label Chocolate. Show all posts

Sunday, September 6, 2015

Black Magic Spellcakes (Black Velvet Cheesecake)


I'm ready for shorter days and cooler weather. I'm ready for fall. I'm ready for brisk morning walks and coming home to delcious smells of simmering Crockpots. I'm ready for jeans and boots and sweaters. I'm ready for cold nights and extra blankets, scented candles and cinnamon coffee. I want comfort foods and Halloween...

Ahh yes, Halloween. The only holiday where I can dress up and pretend to be someone else for one glorious night....or one glorious month if I do it right.:) I want to decorate with headstones, orange lights and spiderwebs. I want to carve pumpkins, and eat creepy Halloween inspired foods while sipping on bubbling drinks. I want to eat Halloween candy for dessert...or even better, these super rich and decadent Black Velvet Cheesecakes! 
The perfect mini cheesecake that is easy to prepare and oh so yummy! Make them for your next Halloween gathering. They're the perfect finale to a dark and festive Halloween meal of, Spiderweb Eggs, Love at First Bite Linguini and Fangtinis. Enjoy!


Black Magic Spellcakes

Makes 12


1- 8 oz. package plus 4 oz. cream cheese, softened
1/4 cup sugar
1/2 tsp vanilla extract
2 eggs
1 cup semi sweet chocolate chips, melted
2 T milk or cream
1 t. black gel food coloring
black sugar granules

Crust
1-2 cups Chocolate Oreos, finely crumbled 
1 T butter, melted


Preheat oven to 350 degrees.
Line muffin tin with paper baking cups. 

Beat cream cheese and sugar in a medium bowl until fluffy. Add vanilla and eggs one at a time. Set aside.
Place Chocolate chips and milk in a double boiler and heat until melted and smooth. Set aside to cool for 2 minutes or so. 
Slowly add melted chocolate to cream cheese batter and beat until incorporated. Add black gel food coloring until you get a deep black batter. 
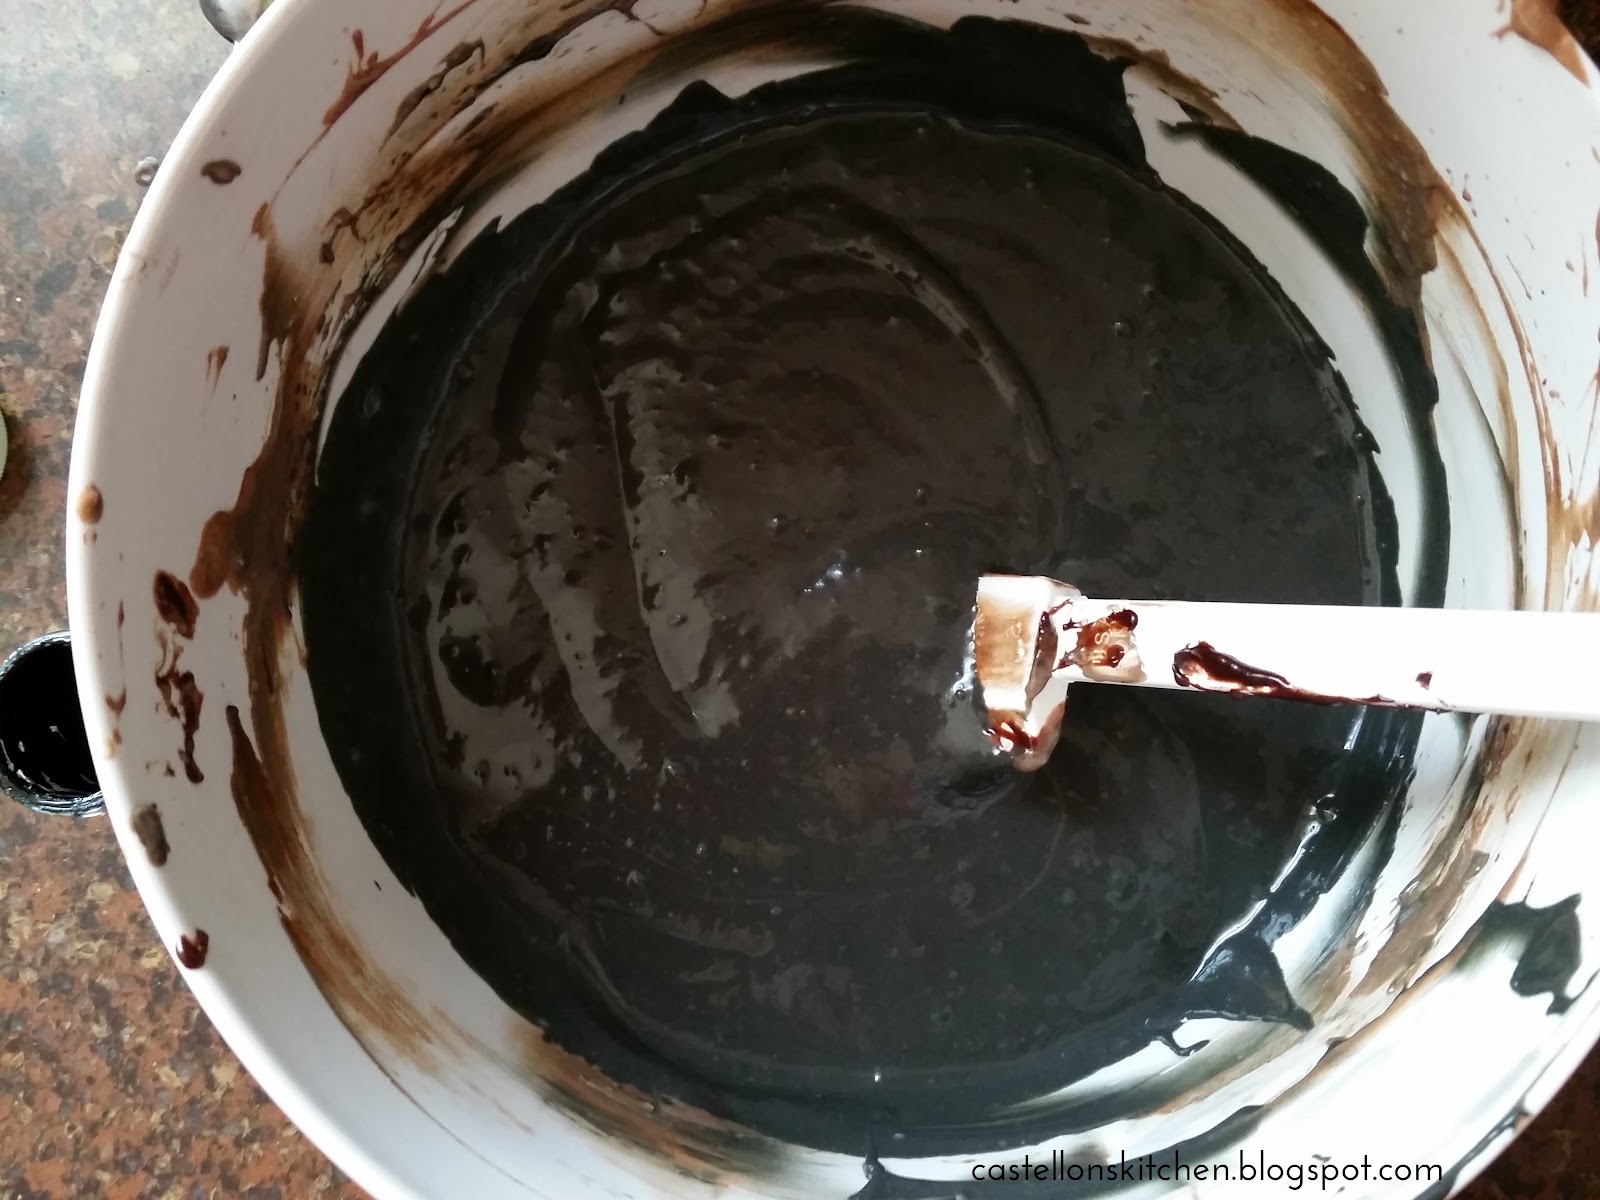

Place Oreo cookies in a food processor and pulse until you get fine crumbs. Add melted butter and process again until incorporated. 
Line cupcake pan with baking cups and add about 1-2 Tablespoons of Oreo Cookie crumbs to the bottom of each baking cup. (I used a small cookie scoop) With the back of a small spoon, press and smooth out the crumbs so that it forms a packed crust that lines the bottom of the cupcake liner. Fill each of the baking cups three-fourths full with chocolate cream cheese mixture. 
Bake for 15 minutes. Cool for 20 minutes and then refrigerate for at least 2 hours. 
Once cooled, remove paper wrappers and dip the cheesecakes in black sugar sprinkles. Enjoy!


Other Halloween-inspired dishes to try:
Black Velvet Creme Cakes            Candy Corn Peppermint Patties            Candy Corn Sugar Cookies        

Thursday, July 17, 2014

Black Velvet Creme Cakes

I really wanted to call these little beauties, Black Velvet Ding Dongs. But since that name was taken...Creme Cakes they became. My goal was to Halloween-ify the Creme Cake.  I'd hoped to enrobe the whole cake with three different colored chocolate coatings with each cake filled with a contrasting colored frosting center. Imagine...a lime green Ding Dong..oops, Creme Cake, with brilliant purple filling next to the deep Black Velvet Chocolate Cake. An orange Creme Cake with bright green filling and a white Creme Cake with blood red filling...you get the picture. At least that's what I was going for originally, but Candy Melts had other plans for me. 


Candy Melts were very tricky to use and created tears of frustration. However, I must say it was user error. My first mistake was thinking I could enrobe the Creme Cakes with them. You can't. The white chocolate in melting chocolate is too thick, even with addition of shortening or oil. It will not pour out into a beautiful curtain of colored white chocolate like regular chocolate does. (At least I couldn't get it to that consistency) And, if you try to heat it higher to get it more liquid, it will do the opposite and seize up on you and turn into a globby thick mess. It took me three tries to figure this out and after the third failed attempt at melting these buggers, I realized I needed help!

I hit up the Internet. I read all kinds of to do's and what not to do's but the single most important advice I read, and what worked for me (by accident) was...MELTING CAN NOT BE RUSHED. Take your time and it wouldn't hurt to buy an extra bag as your practice round.

Here are some things I learned when melting white chocolate:

-New melting chocolate melts better than older candy melts. Yes, this is absolutely true.  I had some left over from last Halloween and they did not melt very well at all. I ended up tossing the whole lot out.

-Use rectangular flat trays for melting white chocolate. Melting candy melts in rectangular plastic trays helped melt them more evenly. I used my three breading trays, I got from Pampered Chef.  I'd been heating them up in the microwave, in bowls, and heating was uneven. I got hot spots which seized up the chocolate.

-Heat the chocolate for only the recommended time at half power. One minute for the initial heating, and two more 30 second intervals. That it! Stir well and let it sit between all heatings. If you absolutely need to add more time, add it in 10 second intervals and stir well and let sit before adding any more time.

-Stirring is critical. Stir well after the first one minute heating. Stir well between the next two 30 second intervals. Stir a lot. Don't worry about rushing it back into the microwave thinking it is cooling down and will harden up again. No, the truth is, once these begin to melt, they stay melted for a long while. In fact, this leads me to my next lesson learned. 

-Let the chocolate sit. After the third seize up of my chocolate and trying to save it with adding shortening, I hopped on the Internet and did my investigating. I left the thick mess sitting there on the counter. After 10 minutes of education, I went back over to the chocolate mess I'd abandoned...and what do you know? The chocolate had in fact thinned out. Letting the chocolate sit and continue to melt and cool, did the trick. See...MELTING CANNOT BE RUSHED.

Anyway, like all mistakes, you learn something from them and then usually it leads you into new beautiful territory called, Plan B.  

Plan B was to use the candy melts I had left without having to run up to Michael's again. In this case, I had Black and white remaining. Instead of coating each of these cakes, I decided to coat the bottom and top of them, and it was just enough. The candy coating really gives you the texture reminiscent of those foil wrapped desserts we grew up with. All in all, the effort was so worth it because I learned a lot and most importantly they turned out beautiful and delicious!

Black Velvet Creme Cakes
Makes 30 creme cakes

1 box of Devil's Food cake mix
1 T unsweetened cocoa powder
gel food coloring in (black and colors of your choice)
1 container of prepared Vanilla frosting
1 bag each of Candy Melts in Black and White
Halloween Sprinkles (optional)

Preheat oven to 350 degrees.
Prepare cake mix according to package directions. Add 1/2 t black gel food coloring and 1 T of unsweetened cocoa powder. Stir well. Generously spray cupcake pan with non-stick cooking spray. Using a medium cookie scoop, fill cupcake pan with one scoopful (about 2 T) of cake mix. Cupcake batter will only fill the bottom 1/4 of the pan. You want the cakes to be small. Bake at 350 degrees for 8 minutes. Cool completely on wire racks.
 While the cupcakes are cooling, prepare your different colored creme fillings. Add gel food coloring until desired color is reached. Put frosting into piping bags with a piping tip. I only had a star tip and it worked just fine.


 On the underside of the cupcake, pipe a small amount of frosting into the middle of the cupcake. Take care not to pipe to quickly or your frosting will blow out the other side of the cupcake. Set aside while you prepare your candy melting chocolate.


Melt white chocolate according to package instructions and be mindful of the lessons learned listed above. Using a knife, remove excess piped frosting from the bottom of the cupcake before you dip them into chocolate. You'll want to seal the bottom of the cakes first so you don't lose your creme filling. Dip carefully and then place on a parchment paper lined cookie sheet to allow for chocolate to set.


Prepare your black candy melting chocolate. Dip the tops of each cake, slightly twisting them as you remove them from the chocolate. You will need to use the back of a spoon to smooth over some spots.
Sprinkle with Halloween sprinkles (optional) and allow for chocolate to set. (I added the sprinkles after the chocolate had set, by using my hair dryer to slightly melt the tops of the cupcakes and then sprinkled them on.) Pour yourself a tall glass of milk and Enjoy!


Other Halloween Desserts to try:
Candy Corn Sugar Cookies                             Candy Corn Peppermint Patties

Monday, July 7, 2014

Candy Corn Peppermint Patties


For my kids, like most, Halloween is all about the candy. Sure, they get excited to carve pumpkins and decorate the house. Yes, they're happy to get their costumes each year and their excitement causes them to wear their costumes every day leading up to Halloween. But the costumes are just a means to the end. Candy is the prize waiting for them at the end of the night. The award given after hours of relentless panhandling masked by the words, "Trick or Treat!" 

So what better way to kick off my "Summer of Halloween" than with these beautiful Candy Corn Peppermint Patties. I realize it is the beginning of summer, but I love Halloween and I figure, it's never too early to start planning for Halloween. :) So you'll see these and many more Halloween themed blogs this summer. Now on to the candy...

These were a breeze to make because I had help. My girlfriend, Neidin came over one afternoon and we made these beauties. With our kiddos having fun in the pool just outside the kitchen window, we were having our own fun...making candy!
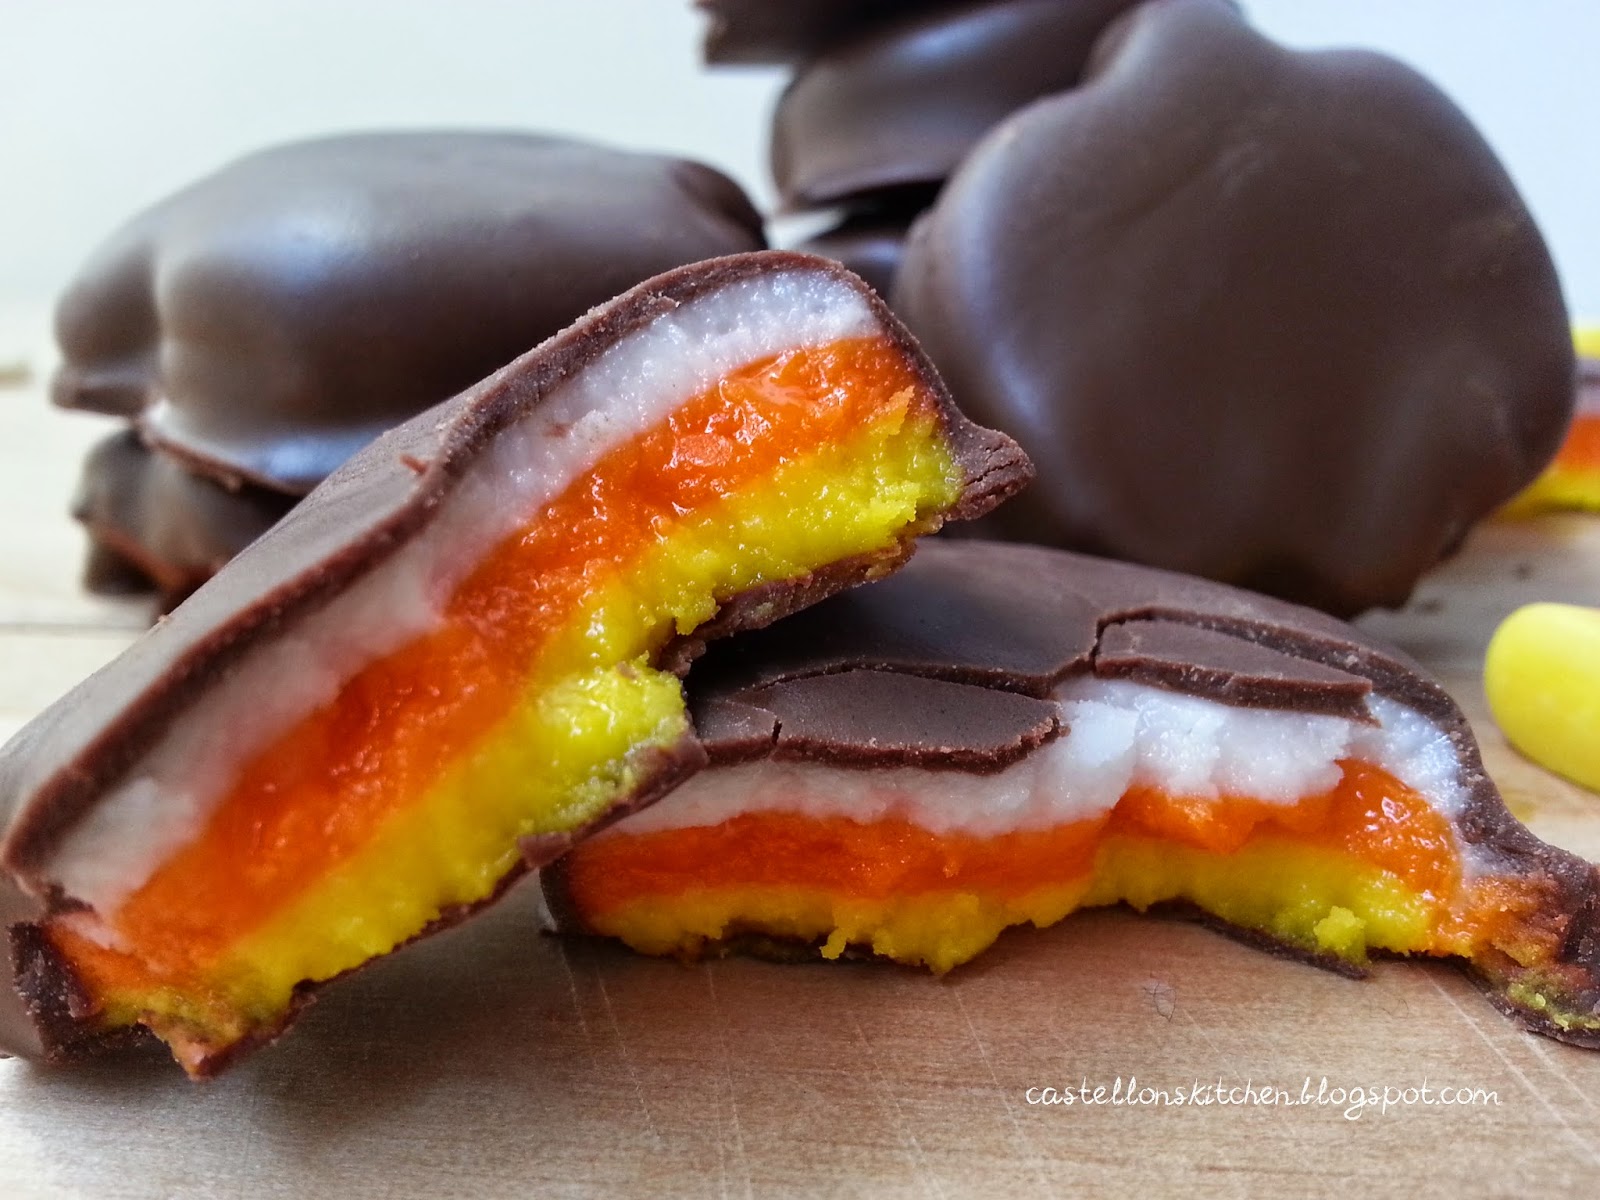
We were like little kids ourselves as we rolled out each layer of brilliant orange and yellow peppermint dough. Oooing and aahing at the striking colors that reminded us of play dough. Smiling as we smelled the peppermint that permeated the kitchen and our hands. Waiting anxiously through the refrigeration periods..."Is it done yet?" Cutting out the cute pumpkin shapes...More refrigeration...*sigh.* Impatience building. 
Happily moving on to plan B after a minor chocolate debacle. Good thing we had a plan B. "Yay!" And then, the moment of truth...breaking open the pumpkin shaped patty to see the colorful candy corn center! I'm pretty sure there was a collective squeal of delight. They were so stunningly beautiful and not to mention delicious! The perfect end to a perfect day! Thanks Neidin.


Candy Corn Peppermint Patties (recipe from HGTV) 
Makes ~20, 1-inch patties

3 3/4 cups powdered sugar
2 1/4 Tbsp light corn syrup
2 1/4 Tbsp water
1 tsp pure peppermint extract
1 1/2 Tbsp vegetable shortening
pinch of salt
yellow and orange food coloring (I used Wilton)
1 Tbsp butter
15 oz. melting chocolate

Add powdered sugar, corn syrup, water, peppermint extract, shortening and a pinch of salt in a stand mixer and mix until just combined. Knead on a work surface dusted with powdered sugar until smooth.


Divide dough into thirds. Add the yellow food coloring to one of the balls of dough and orange to the other, leaving the last one white.

Roll out each dough between two pieces of parchment paper. Make sure they are even thickness and similar in shape. Stack the layers on parchment paper, starting with yellow, orange and then finally white. Cover top with another piece of parchment and refrigerate for 10 minutes.
 

Using a 1" cookie cutter, cut out mints and place on a parchment lined cookie sheet. I used a pumpkin shaped cutter, but a round cookie cutter will give you the most of patties if you cut them out very close together. I ended up with 17 pumpkin shaped patties.  Place cut patties back into the refrigerator to chill.


Melt chocolate according to package directions and then begin to dip each patty into the chocolate and place on a wax paper lined cookie sheet. Refrigerate until chocolate is set.  store in cool place, layered between wax paper. Enjoy!

 
Other Halloween-themed foods to try:
Candy Corn Sugar Cookies
Roasted Fingers and Toes