Here's a really simple Halloween prop that comes together easily with a ton of WOW factor! I made it for my son's trunk or treat event at school but I think it looks so much better in full darkness in the front yard! I added my pose-able skeleton kicking back around the bonfire roasting a rat skeleton like a marshmallow. The wind blew the plastic flames around so it really looked like a roaring fire! Check out the how to below. Enjoy!
BONEYARD BONFIRE
MaterialsTomato Cage2-3 strings of Orange lights 1 small string of white lightsFoam core boardYellow plastic wraplots of skulls and bones 7-9 small tree branchesglue guntape 1 can expanding foam (*optional)Step 1: Invert and wrap a tomato cage with orange lights.Step 2: Wrap tomato cage with yellow plastic wrap. Wrap 2-3 times and secure with tape. Step 3: Place wrapped cage on black foam board. Attach small branches (I used old plastic branches from an old floral arrangement) to foam board with a hot glue gun. (Socks wanted to chew these so badly...)Step 4: Begin placing your larger bones, skulls, pelvises and rib cages. Hot glue to foam board and to the bones around it. Step 5: Continue to layer skulls and bones, taking care to leave room between pieces so that the light can show through. Step 6: Spray expanding foam to bottom of the bonfire to mimic embers and then spray in some of the cracks to help bind the skulls and bones together. Take care not to spray too much or you will not get the glow you want. I over-sprayed and had to remove the excess foam to get better glowing. (*Note: I may not use it all for my next bonfire, it glows best without it.)
Step 7: Add the small string of white lights to the top of the bonfire and add more yellow plastic wrap to create more flames. Filling the top, like you would a gift bag with tissue paper and secure it with tape. Randomly cut plastic into large strips so that you can have free movement of the plastic when in the wind. If using this prop indoors, place a fan behind it to blow the plastic flames around.The best part is when the bonfire is outdoors, the wind blows the plastic wrap so the illusion is complete as the flames bounce on the wind. The wrinkling sound of the moving plastic mimics a cracking fire. It's just awesome!
Happy Haunting!
This time of the year is always busy and hectic but this year was crazy busy because I had a seasonal job where I worked 6 days a week. It was hard to have only one day off when you have a mountain of laundry, housework and grocery shopping to do all in one day, then you add Christmas shopping, school Christmas programs, PTA events and meetings and cub scouts...Ugh!! I am totally wiped out and thankful to finally have some time to recharge. I plan to do as little as possible today. It's Christmas morning and the kids are happily playing with their new toys which includes a drum set and and electric guitar. (What? Are we crazy?) Yep, it's loud in here as I write. A peaceful loudness that makes me smile as my kiddos learn to play their new instruments. Later today, I'll head to the kitchen and make some homemade soup with left over Christmas ham and then go for a long walk with my husband and kids. The perfect day.Aside from the crazy schedule this year, I did find a little time to do a little decorating. I stress, a little decorating. Here are a handful of ideas. Enjoy! Merry Christmas! Snow Globe Christmas Village
This idea is a variation of the Haunted Hamlet I made for Halloween, just on a much smaller scale and not haunted. The Dollar Tree sells these little Christmas houses, but as you can see the paint job is not the best but that didn't stop me. I decided to make it more Christmas-y by giving them a coat of white paint. Then I used a few accents of color and some glitter paint to give some dimension to the features on the houses.Rather than just placing the village on my sideboard on a blanket of cotton snow, I placed three of the houses in a large 12" fish bowl vase so that it looked like a snow globe. The remaining house fit perfectly in a smaller fish bowl. I lit up the larger bowl using a small string of lights I placed on the bottom of the bowl and covered up with a snow drape and then I poured two containers of table salt over the drape. I placed the houses and some snowy trees in strategic places to hide the power cord and plugged it in. Pretty cool huh?
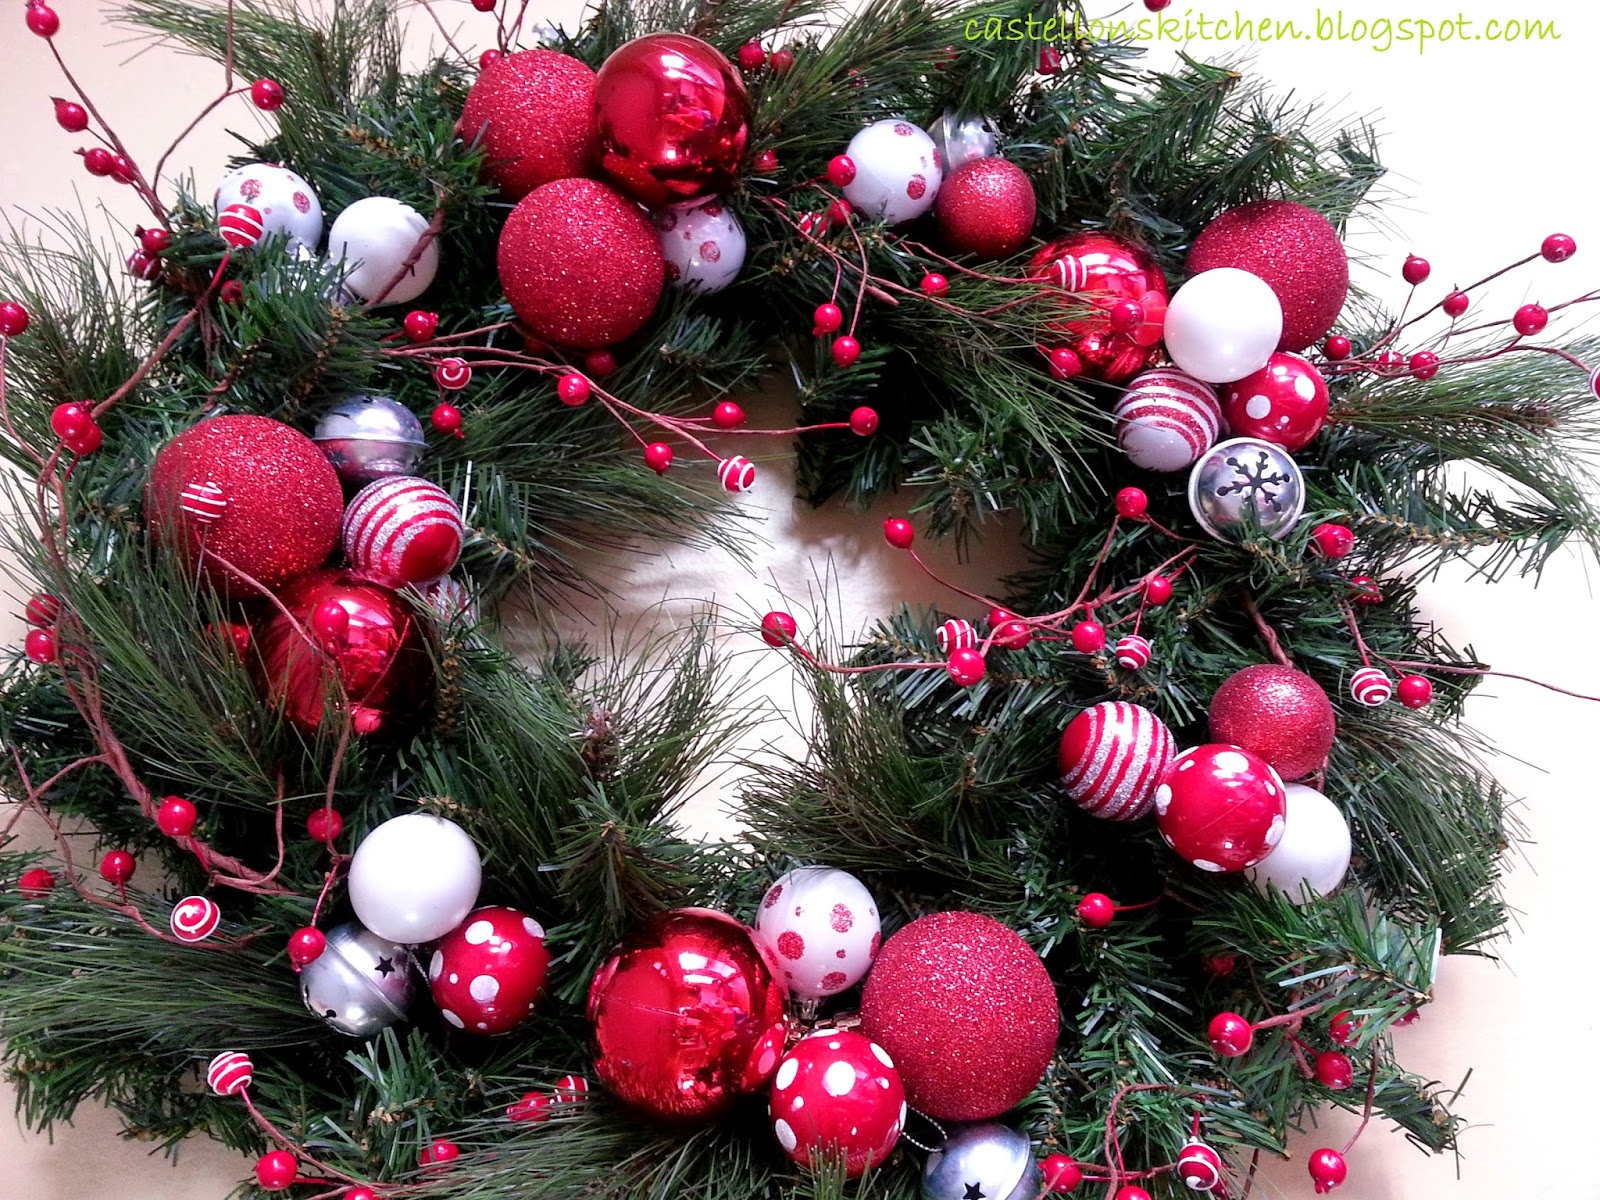
Deck the HallsI did manage to make a new wreath this year. I didn't buy anything new, rather I re-purposed some old ornaments and garland. I think it turned out great!My dining room and kitchen are the heart of my home so I love to decorate the dining room for every holiday...well at least for Christmas and Halloween.:) This year I wanted to use all those simple Christmas tree cones I'd picked up over the years. The 99centsOnly Stores have these each year which is great because they are only a dollar each. This year, I picked up two cones, one blue and the other gold, not exactly the colors I wanted but that was easily solved. I also picked up some garland in the colors I wanted and I wrapped the cones in garland. An easy inexpensive way to make them in any color you want to match your decor. Plus they look so cool when they are different, sizes, textures and colors.
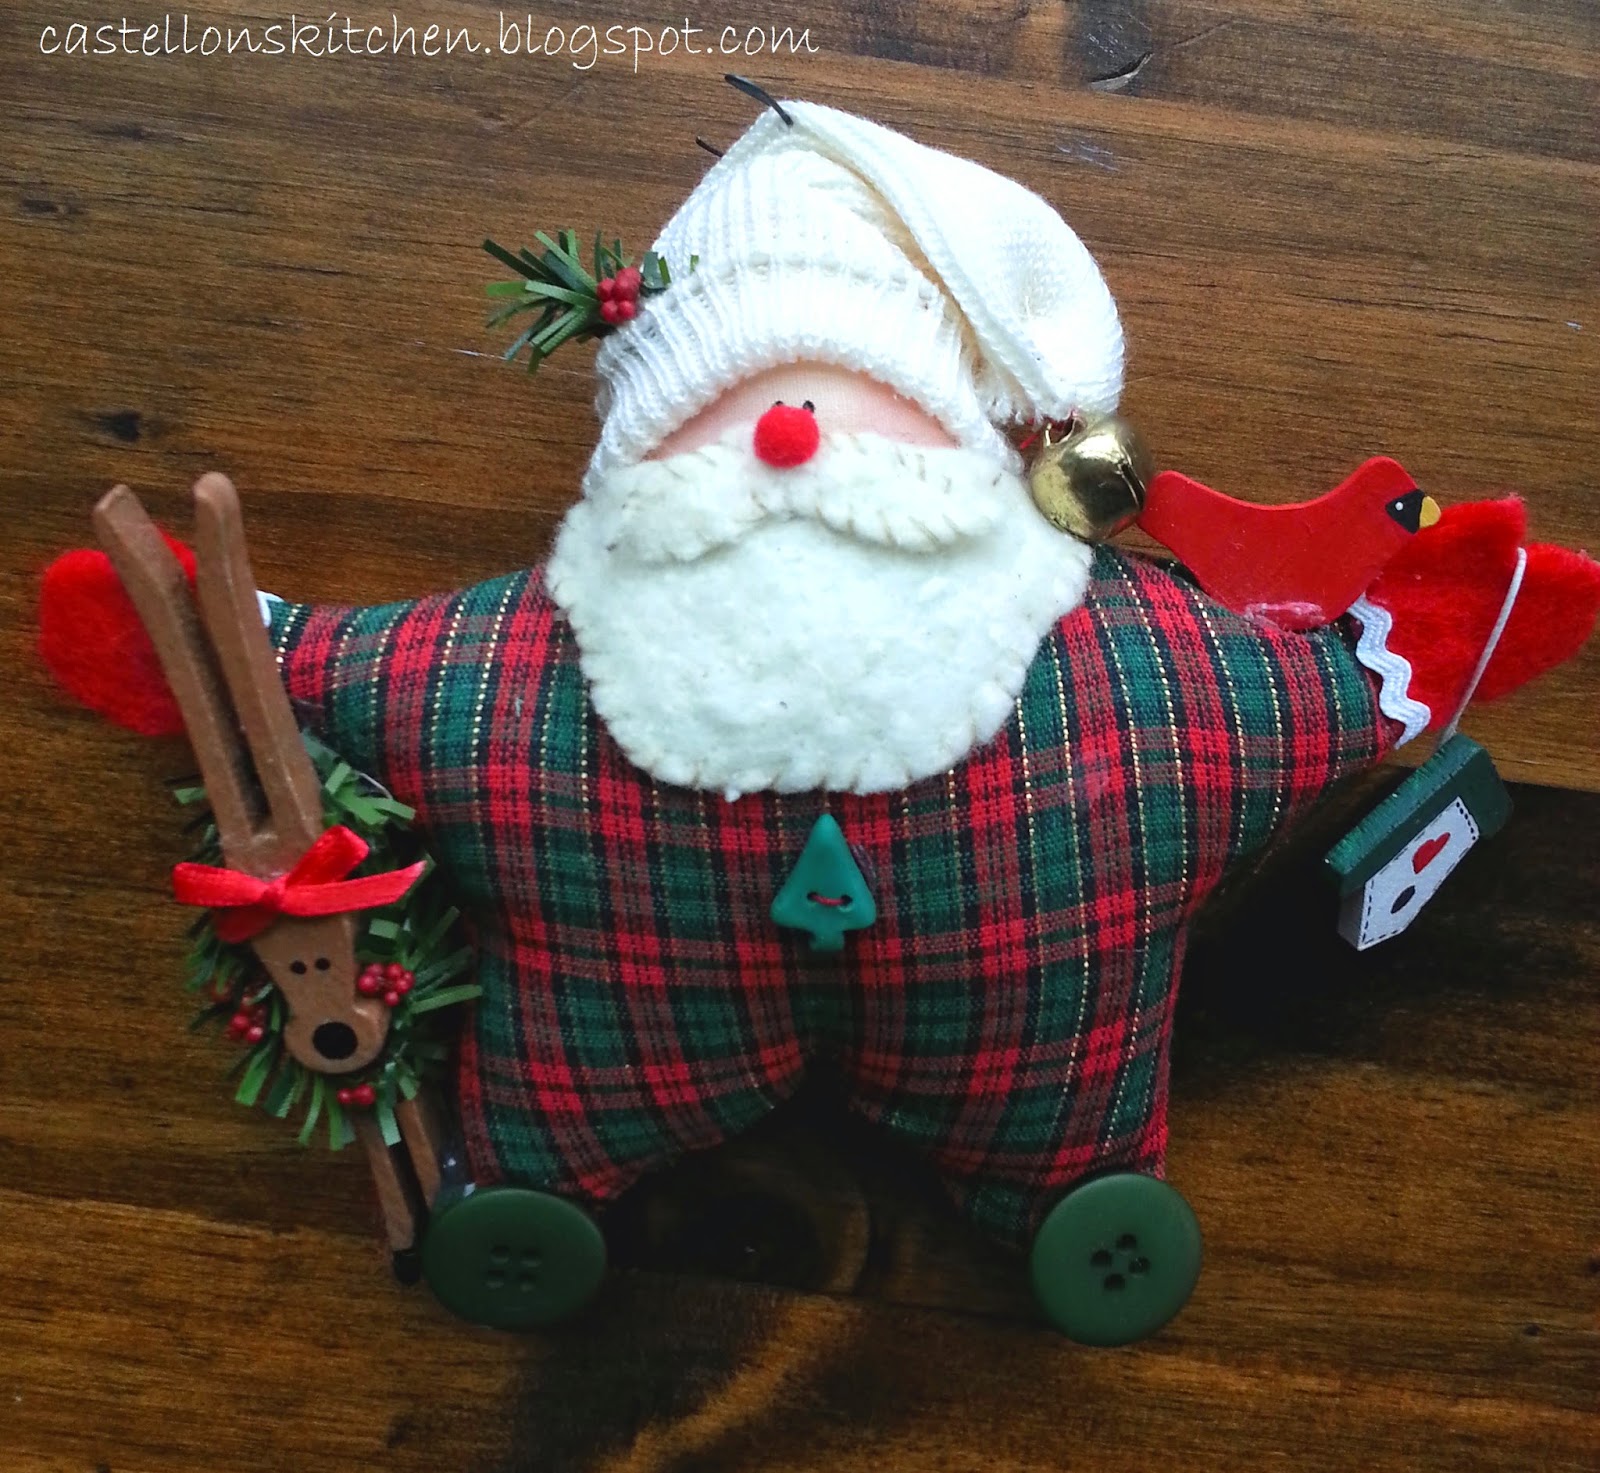
Handmade OrnamentsI made these handmade ornaments many years ago...I guess it was nearly 20 years ago. Wow! Just a few lifetimes ago. I alternate my tree every couple of years. Some years I do my handmade country tree where I hang all the ornaments I've made and other years, like this year, I just use red and silver bulbs. Each year, when I open up the Christmas bins, I take a look at all the ornaments I've made over the years and I remember each one. I remember when I got the idea and when I began creating the pattern and designing the details. Each one special and so much fun to put together. I thought I'd share a few of my favorites. Enjoy! Trees. I love trees. Simple. Merry Christmas and Happy New Year!
IT'S THE MOST WONDERFUL TIME OF THE YEAR! My favorite holiday and my favorite season has finally arrived. If you've followed me all summer, you already know that I plan all year for this time of year. I spent most of my summer, cooking fun and festive Halloween inspired food and designing decorations for my home. This year my decorating focus was skeletons. I have lots of parts and pieces of skeletons and I wanted to incorporate them in fun, unexpected ways, like a Skull Topiary, Gravedigger centerpiece (pictured above) along with my Skeleton Wreath and a super fun, Remains of the Day Chalkboard. I also decorated my sideboard with a spooky Haunted Hamlet made with old Christmas Houses and a Halloween inspired work of art, I affectionately named, Witch's Broom. And finally, I can't let the season go by without making another wreath, this one made with tons of creepy crawly spiders! Eek!Take a look around and enjoy. HAPPY HALLOWEEN!Skull Topiary
I actually bought these skeleton arms on sale for $5.00, which may not sound like such a deal. It was a deal because the arms came with legs and a head as well. The original decoration was meant for the front yard. The arms, legs and head came with spikes so you could stick them into the ground so that the skeleton appears to be coming out from the ground. I used the arms and head in this creation and I used the legs in my Gravedigger Centerpiece below. I had an old floral container which I spray painted flat black. I had some creepy cloth from last year, but I always buy more each year. You can never get enough Creepy Cloth. First, I stuck the arms into floral foam in the container and since these arms were rigid at the elbows and pivoted at the wrists, I used a small amount of creepy cloth to bind the wrists together allowing the hands to fall open and then glued the head in the hands. I added the three accent roses and then I added two other smaller foam skulls, that were attached to different sized bamboo skewers, to vary their height. I built from there adding black roses and some purple glitter berries and finishing it off with silver plastic ferns. Turned out pretty cool huh? Gravediggers Centerpiece
This little gal was a sketch in my blog notebook all summer. I have a few notebooks where I jot down recipe ideas and decorating ideas, but I had her in mind all summer and I am so happy she came to life from a scribble. I love this decoration because it has so much detail. You really need to look to see all that's going on with her. Her disjointed limbs and scattered bones lie together at the base of a tombstone overgrown with fall foliage and wild pumpkins. The spider on her grave looms over her shrouded head and another at her feet as a raven stands perched on a wrought iron fencing that lies behind it all. The vignette is complete with my Skeleton Wreath from a few years back and some rustic ceramic pumpkins. I'm ready to greet the season!
Remains of the Day Chalkboard

I made this fun chalkboard with a left over piece of wood, plastic bones, chalkboard paint, and some construction adhesive. It's was super easy to put together and looks great in my dining room. For Halloween I'll post my menu of: Amputated Appetizer, Mummified Meatloaf, Roasted Fingers and Toes, and 'Beet'ing Hearts Salad with Blood Red Vinaigrette. "Bone" Appetit! Here's a picture of it at night. So pretty with the glittery mercury glass pumpkin, candlestick and tea lights! Spider Wreath
Here's another simple decoration to put together. I made this wreath by gluing a bunch of different sized spiders onto a spray painted grapevine wreath and then wrapped it all in black spider webs. Easy and looks great!
Witches' Broom
This is my Halloween themed artwork named Witches' Broom that was inspired by the idea of using dictionary pages as a canvas. The pages are not just a neat backdrop, they are actually what makes this drawing Halloween themed. I chose words and pictures from the dictionary that captured the essence of the season, such as vampire, werewolf, tarantula, ghosts, etc. I think it turned out really cool and it looks great hanging in my dining room. If you want to see how it came together check out my blog link here.Haunted Hamlet
This was so much fun to make and again, really simple to do. The hardest part was finding all the right sized Christmas houses, especially in the middle of summer. I scoured every thrift shop for a few weeks before I was able to pull it all together. I even added a house after I wrote and posted the blog when a friend found and gave me another house to add to my village. Check out the Haunted Hamlet blog to see how I made it.
HAVE A SAFE AND HAPPY HALLOWEEN!Other Halloween Decorating and Entertaining Ideas:Halloween Decorating 2013Fall Decorating 2013
Halloween-inspired recipes:Spiderweb Eggs, Fangtini, Amputated Appetizer, Pickled Shrunken Heads, Ghoulish Goat Cheese Torte, , Black Bean Hummus, Candy Corn Sugar Cookies, Candy Corn Peppermint Patties and Black Velvet Creme Cakes!